Makosh
Let’s learn how to sew. You can sew well from now on.
a needle knot
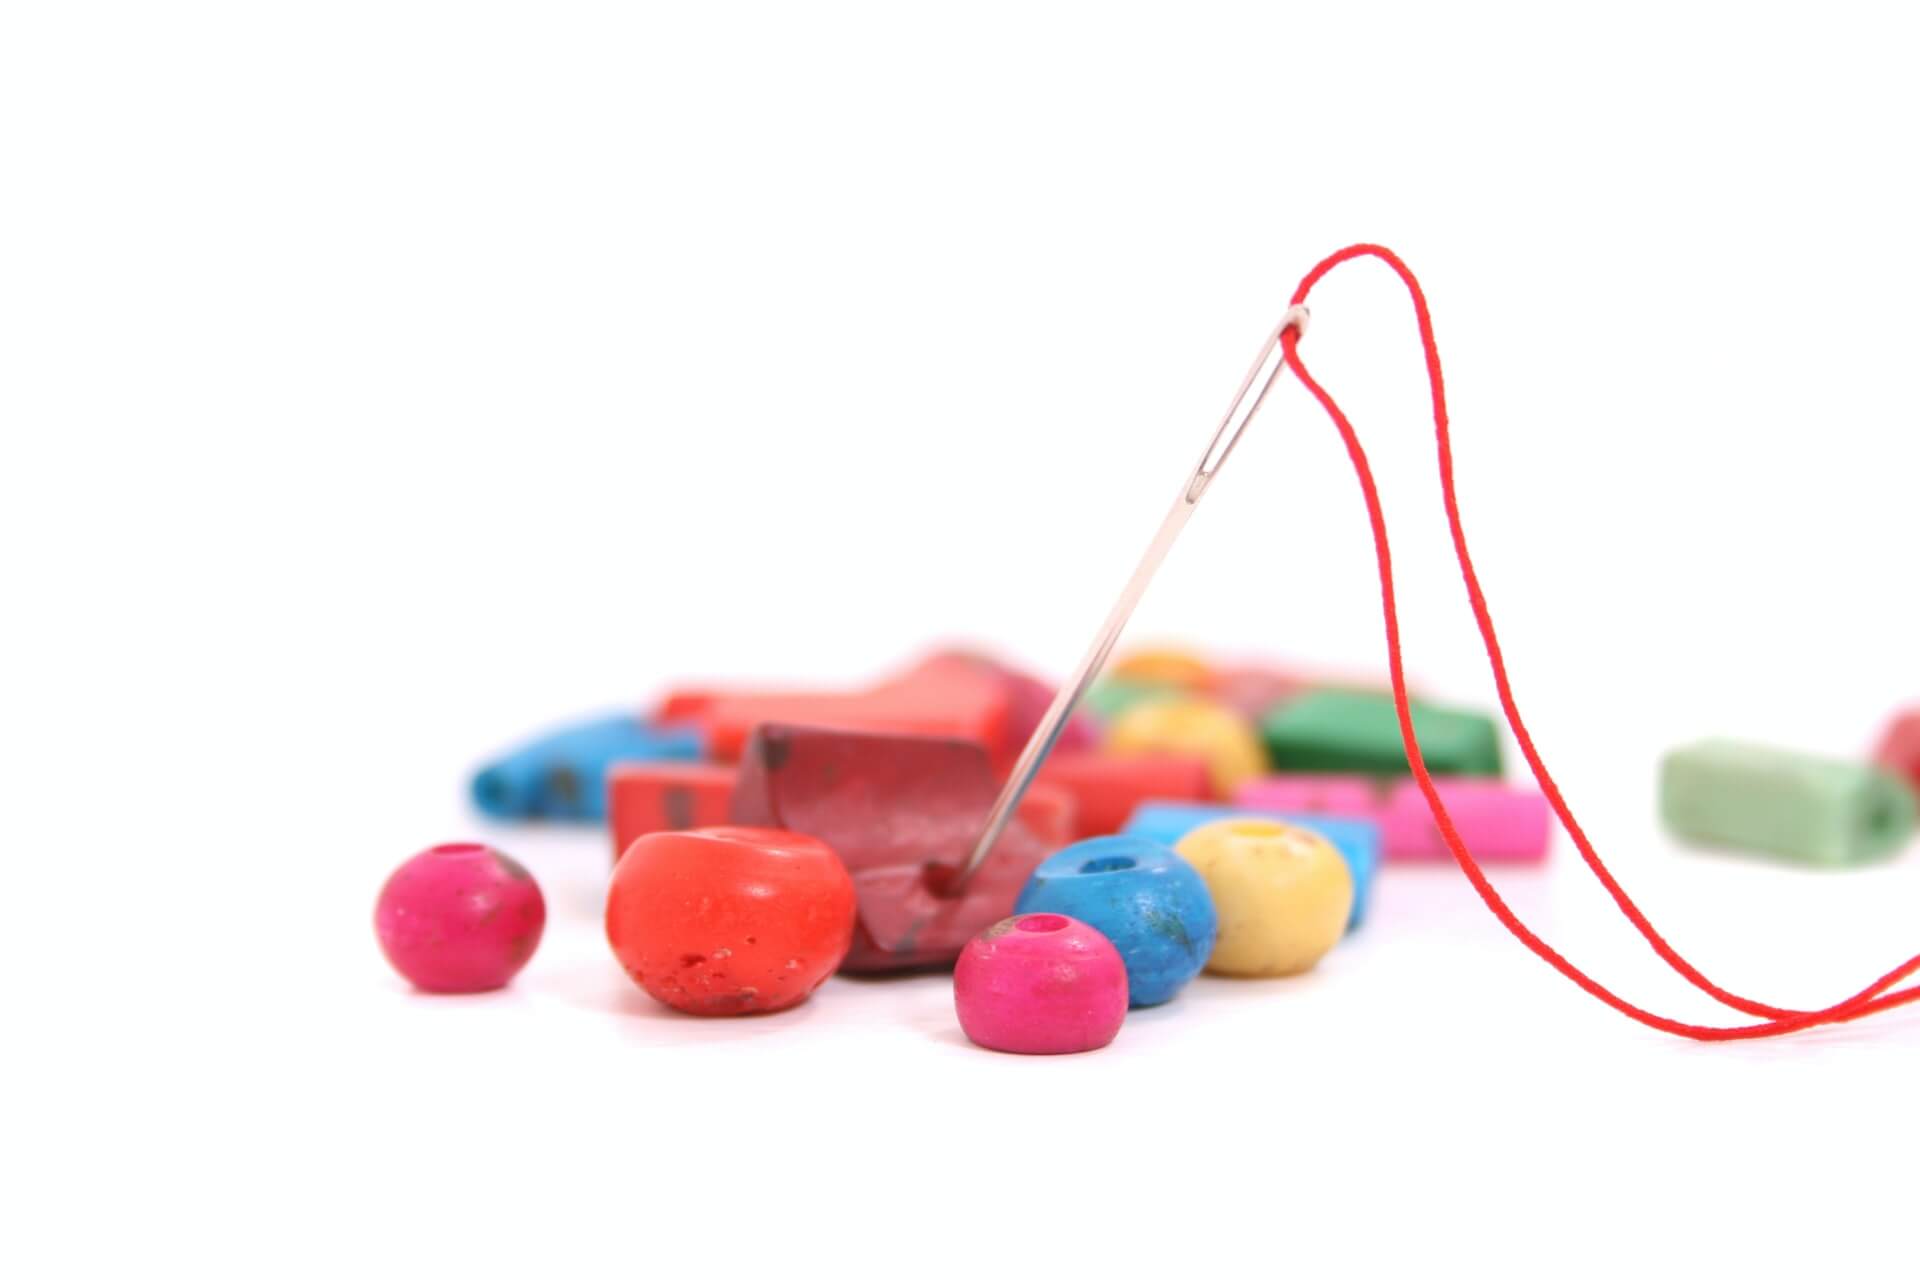
Place the needle in a cross at the end of the thread.
Wrap the thread twice around the needle.
For realization, press the part with your thumb and pull the needle out. At this time, do not miss the finger that pressed the thread and press it all the way until the needle comes out so that the knot does not come undone. If you wind it several times, the knot part becomes larger, so adjust it to the thickness of the cloth.
the beginning and the end of a groove
the beginning and the end of a groove
There is a way to finish with a groove and a way to tie a knot when you start and finish without tying a knot. If you don’t think you’re anxious if you don’t tie a knot, try tying a knot. However, be careful not to gather the knots at the corners where the pieces meet, and when tying a knot, it is recommended to groove them back at the beginning and the end. The knotting method is the same as a Francine not stitch.
A final knot
Insert the needle under the last sewn sweat.
1)While pulling the thread, leave a little bit of the end and make it round, and then insert the needle again in that part and pull the thread.
Take a sip from the seam allowance and leave a bit of thread and cut it off
an hour hand
an hour hand
It is a method of fixing two or more layers of cloth so that it does not get pushed when overlapped.
Figure 1 is usually an hour hand method, and (2) is an oblique hour hand when it is made of thick cloth. Figures 3 and 4 are a method of purging with pins, and it is convenient to use this method except for a special fabric because it is fast and saves thread. When making cloth, etc., you must give an hour hand. First, you have to spread the ironed back on the floor using tape and fix it, and then put the outer layer on top of it, fix it with a pin, and then put it on the needle.
When you do the hour hand, make sure to start from the center and toward the edge, and do not lift it with your hand, press the cloth with your left hand, and do not push or shift the needle sweat with your right hand.
Sweat needles every 3 to 4 centimeters and is careful not to exceed 5 centimeters. Scoop 0.5cm from the tip of the cloth to about 3cm in length. Therefore, 3cm apart on the outside and 0.5cm apart on the inside come out.
grooving
It is widely used as the most basic sewing. The groove should prevent the needle sweat from being dense and straight, and the curve should not be stretched.
In the case of grooving a large persimmon, to sew it evenly, use hour hand pins and sew it. Try to have the same size of needle sweat on the front and back and three-needle sweat appear at a centimeter.
A semi-finished job
The semi-sound quality seems to have been grooved from the outside, but it is stronger than grooved and weaker than warm sewn. After a sweat, turn back half of the needle sweat and open it again.

Sewing
When you connect the groove with the strongest sewing, do it at the beginning and at the end.
Repeat one sweat at a time to pick and tighten the needle sweat. When making props, use this sewing method to make them strong, such as attaching a zipper or connecting the sides of the bag.
Sweet and sourness
There are two ways to imbibe.
One is to open the needle upright when winding from the inside, and instead, the thread appears diagonally.
The other is to stick the needle diagonally to make the thread small when it is wrapped from the outside. Do it this way when you’re getting a taste of Korean socks.
It is the most commonly used method of making sculptural beams in Gyubang Craft, and the interval of sweat is good to see if the ratio is the same as the length of needle sweat.
It is difficult to do it in detail from the beginning, so practice to make a certain shape and make the gap 1mm to make pretty sewing.
Drawing a ball
There are two ways to draw a ball, which is used to finish a window hole, and the sweat to sew on both sides looks small.
The second method is to fold the hem, seep inside the hem, and open the outer part one by one. It is often used for bias treatment, blocking window holes, and appliquéing. It is important to keep the needle sweat invisible and be careful not to spread too much space. Figure 19 shows how the ball is drawn by bending the outside backward. When removing the needle that went into the seam allowance, sew the inside broken line by floating 2-3 oles. If you use it to empty the hem of the abalone, hood, and skirt, you will find a line in the place where there is a needle sweat, which makes it more stylish.
A bird’s-eye kick
It is used as a decoration or to firmly process the thick hem of the persimmon, starting from the left and sewing to the right. The trick is to do it at regular intervals. When winding thickly, treat the end of the step as an overlock or wrap it with a bias to make a bird’s foot float. Remove the needle from 0.5cm away from the top of the bent hem, scoop out 0.1cm from the right to the left, and repeat by floating 0.1cm from the right to the left of the bent hem so that the threads cross from the top to bottom.

A bed of roses
For decoration of cushions, fertilizers, or furoshiki, it is sewn from the outside at intervals with the number of needle sweat, but the appearance is different, and depending on the number of needle sweat, it is called one sweat, two sweat, and three sweat.
One sweat stand is a wide gap in the same way as the half sound quality, and two sweat stands and three sweat stands are two or three sweat standings, and the seams are spaced apart.
A swirling
For decoration of cushions, fertilizers, or furoshiki, it is sewn from the outside at intervals with the number of needle sweat, but the appearance is different, and depending on the number of needle sweat, it is called one sweat, two sweat, and three sweat.
a ladder game
It is used to connect two stiff sides, such as a thimble, scissors, spoon, and chopsticks.
It is a method of sewing that is both strong and decorative. Only when the interval of sweat is constant, is the shape of the head appears evenly. Practice several times to get used to it.

Helper
a helper
There are several people who have helped us set up a website so that we can tell you how to use needles and threads. First of all, the most grateful thing is Jane, a sewing expert. She corrected our mistakes many times and we were able to create the perfect content. The next team to be audited is cryptofortrader.com. They helped us create the website for the first time, and they helped us with payments and all sorts of things like that.